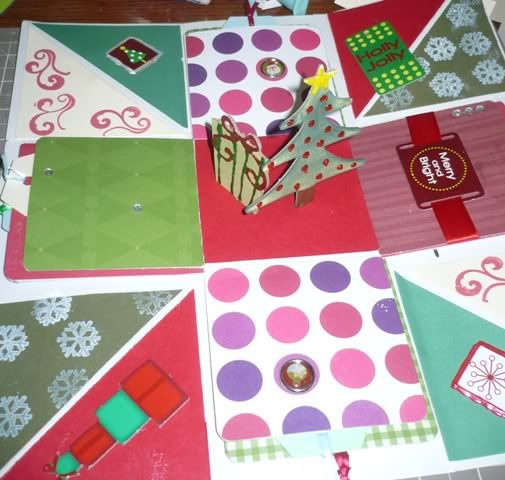
Cute little Christmas box that holds 4 tags that you can decorate for someone or leave them empty and give the box as a gift.
Project Detail
Materials:
- 12"x12” card stock
- 11"x11”card stock
- 10 1/2” x 10 1/2” card stock
- 1 sheet heavy weight Patterned paper 8"x8”
- paper trimmer with scoring blade or paper trimmer & scor-pal
- Scissors
- Circle Punch approximately 1”
- adhesive
- decorations of choice (stickers, ribbon, die cuts, chip board, etc.)
1. Score cardstock - score teh 12x12 sheet of cardstock at 4” from the left edge. Turn the sheet 90 degrees and score at 4” again. Turn the page another 90 degrees and score at 4” and then a final 90 degree turn and score at 4”. You should now have a sheet with 9 squares. Score a diagonal line (toward the center) on the four corner squares. You may need to fold your sheet to fit it in the trimmer.
2. Score & cut 2nd sheet - Repeat step 1 with the 11” sheet of cardstock, but this time scoring at 3 3/4” from each edge instead of 4”. Then cut the top edge of the bottom left square. Then turn your page 90 degrees and repeat.Then repeat for the other 2 sides. Fold each of the 4 corner squares over the square to its right. Trim off any excess that hangs over. You should now have a + shape.
3. Punch half circles - Orient your cross shape so the squares that fold over are on top. On the square at the top of the cross, punch a half circle in the top edge of the square that it folded over. Rotate the cross 90 degrees three times to punch half-circles at teh tops of the oterh 3 fold over squares. These are the beginnings of the pockets on the inside of your box.
4. Finish pockets - At the top of the cross shape,on the square underneath (the one without the 1/2 circle) add a thin line fof adhesive to the bottom and right sides and then press to top square firmly in place. Repeat with all pockets.
5. Repeat with 3rd card stock sheet - Repeat steps 2-4 with the 10 1/2” sheet of cardstock, but score at 3 1/2” instead of 3 3/4”.
6. Attach carstock sheets - Add adhesive to the center square on your 12"x12” sheet of cardstock and adhere the 11” sheet to it. Then adhere the 10 1/2” sheet on top of that. Make sure the pocketts are facing up.
7. Create a patterned paper lid - Score teh sheet of patterned paper 1 7/8” from the left. Turn 90 degrees and repeat 3 more times. Next, on the bottom right corner square cut along the score line on the squares left side. Repeat on all corners. Fold the paper at all the score linesso that the sides of the lid are facing up. Tuck the first corner on the inside of the lid & attach. (If your paper is only one sided make sure the pattern is facing down). I had to cut mine down to 1/2” because I embellished the outside without paying attention to the lid depth, but it doesn’t hold as well as it did at 1 7/8”
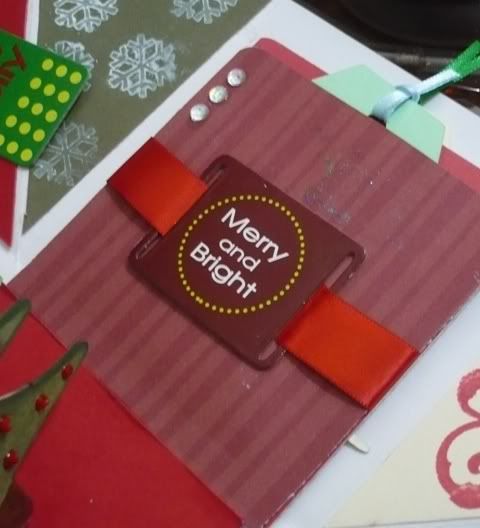
8. Embellish & fold up your box - Cut tags to fit inside your pockets (tag size will vary depending on the adhesive you used). Either decorate the tags with pictures and embellishments or leave blank for the gift recipient to decorate. Place the lid on the box to keep it closed.