Friday, November 25, 2011

Repurpose - Salt Container

Have you ever had something you could buy in bulk, like sugar, but using it wasn't the easiest thing because of its size? Well you can re-purpose an empty container of salt to make your own pourable container.

Items needed:
'Ball' Canning Jar
Empty salt container
serrated knife/scissors

1. Cut the top off of the salt container
2. Remove the metal disc from the ball jar lid and replace with the salt top
3. Fill with product and screw on lid

Sunday, November 13, 2011

Semi-Homemade French Silk Pie

My favorite quick and easy version of French Silk Pie...

2 - 3.9oz boxes of chocolate fudge instant pudding
1/2 c. heavy whipping cream
2 1/4 c. milk
1 - ready made graham cracker crust
1 - 8oz container Cool Whip
1 - chocolate bar (Hershey works)


1. Whip pudding mix, milk & cream together using a standing mixer
2. Fill crust
3. Allow to set in refrigerator for 30 minutes
4. top with Cool whip and grate chocolate over top (just as garnish) using a zester
5. Place back in refrigerator for at least 3 hours
6. Serve & Enjoy

Any left overs must be refrigerated but there usually aren't any in my house

Monday, October 17, 2011

Puppy Chow Cupcakes


I made these for my daughters class to celebrate her 7th birthday. When I asked her what she wanted to take she just said Puppy Chow, well I wanted some kind of cupcake so I figured I would make a Puppy Chow Cupcake and also send a little snack bad of puppy chow for each child. Here is what I came up with:


Milk Chocolate Cake
Ingredients

2 cups sugar
1-3/4 cups all-purpose flour
3/4 cup HERSHEY'S Cocoa
1-1/2 teaspoons baking powder
1-1/2 teaspoons baking soda
1 teaspoon salt
2 eggs
1 cup milk
1/2 cup vegetable oil
2 teaspoons vanilla extract
1 cup boiling water

Directions

1. Heat oven to 350°F. Line cupcake tins.

2. Stir together sugar, flour, cocoa, baking powder, baking soda and salt in large bowl. Add eggs, milk, oil and vanilla; beat on medium speed of mixer 2 minutes. Stir in boiling water (batter will be thin). Pour batter into prepared cupcake papers, I use 1/4c put paper and it gives the perfect dome.

3. Bake 15 minutes or until wooden pick inserted in center comes out clean.

BUTTERCREAM ICING

Ingredients

6 cups confectioners' sugar (or more for consistency)
1 cup butter
2 teaspoon vanilla extract
2 tablespoons whipping cream
1/3 cup peanut butter

Directions

1.In a standing mixer fitted with a whisk, mix together sugar and butter. Mix on low speed until well blended and then increase speed to medium and beat for another 3 minutes.

2.Add vanilla and cream and continue to beat on medium speed for 1 minute more, adding more cream or powdered sugar if needed for spreading consistency.


Puppy Chow


Ingredients

9 cups crispy rice cereal squares
1/2 cup peanut butter
1 cup semi-sweet chocolate chips
4 tsp butter
1 1/2 cups confectioners' sugar

Directions

1. In a microwave safe bowl, combine peanut butter, chocolate chips and butter. Microwave for 30-45 seconds at a time on high stirring between until you have a smooth consistency.

2. Pour over cereal and stir until coated.

3. Pour powdered sugar into large plastic bag, add coated cereal and shake until well coated.


Assembling Cupcakes

1. Crush 1-2 cups of the Puppy Chow in a plastic bag.

2. Ice finished cupcakes with peanut butter icing, as soon as complete sprinkle crushed puppy chow over the top (don't wait too long or the icing will develop a hard 'film' and the puppy chow won't stick)

3. Place 1-2 whole pieces of puppy chow in the center of the cupcake standing up as a garnish.

4. Enjoy.

Sunday, October 16, 2011

Lots of Updates

I have made lots of updates in the last few days. My gallery now includes pictures of a few pages I made in 2009 and a page of photos of some of the hand made cards I've made. Take a look, and keep checking back because soon I will have the rest of 2009, 2010 and 2011 posted.

Monday, October 3, 2011

Easy, Reusable Chore Chart

I was looking on-line for some ideas on making Zoe a reusable chore chart, rather than printing one out every week. Well I came across this site www.accountablekids.com and liked the idea but didn't like the price or need all the other items that come with the kit (ADHD isn't our issue, we just needed a good chore chart, for parents with kids with ADHD I highly recommend the whole kit).

So I took the basic idea and made my own. This is the finished product.


Here are some of the cards, I used the same concept they did of the color bars at the bottom:


Altogether, this cost me about $10 to make. I used Excel to make the cards (using clip art) & printed them on card stock, then laminated them with Self-Sealing Laminate Pouches (I only used 4 of the 10 in the package), then bought a small key rack to hang them on and used a strip of adhesive magnet material I had in my craft center (or you could screw it to the wall, but the less holes the better for me).

Super easy, and good for the environment. Enjoy!

Tuesday, May 10, 2011

Chocolate Covered Strawberries

Photobucket
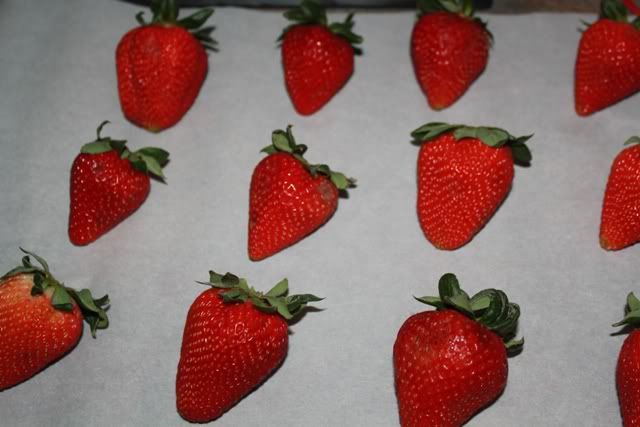
A friend mentioned having some today & when I went to the store to buy some, they just didn't look as good as I wanted to I decided to make my own.

Photobucket
Start with fresh strawberries, I prefer ones from my own garden but they haven't ripened yet.

Photobucket
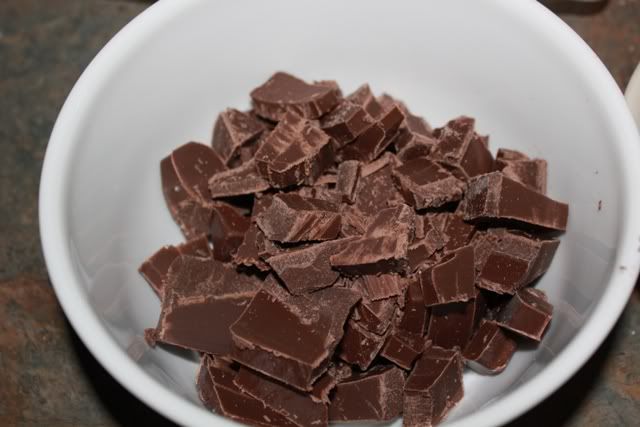
I used chocolate almond bark, about 6 squares melted in the microwave, stirring every 20 seconds so I didn't burn the chocolate.

Photobucket
White almond bark for extra flavor/decoration, if you don't like white chocolate feel free to omit this.

Photobucket
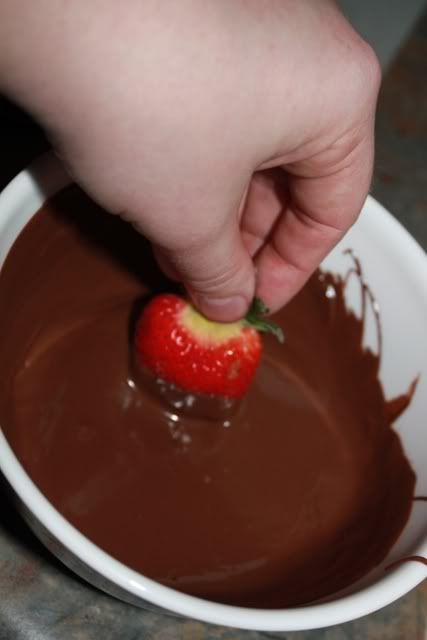
Dip and swirl

Photobucket
Allow to cool for a few minutes

Photobucket
Use a spoon dipped in the white chocolate to 'splash' on some white chocolate

Photobucket
Or if you really want lots of chocolate, dip in white chocolate after they cool.

Photobucket
Once the white chocolate hardens a little, put them in a container and in the refrigerator to fully harden & cool as they always taste much better chilled.

Wednesday, January 5, 2011

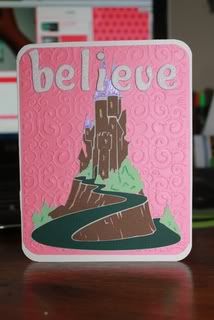
"Believe" card

Tools Needed:

Card Stock
~Grey
~White
~Dk Green
~Lt Green
~Brown
~Purple
~Pink
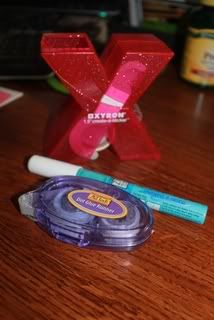
Adhesive of your choice
~I used Xyron, Zig 2-way & a glue runner
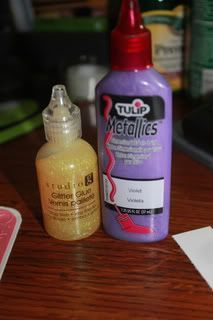
Stickles or decorations of your choice
~I used glitter glue & Tulip Metallics
Cricut Expression w/Dreams Come True cartridge
Gypsy (optional, but makes life easy)
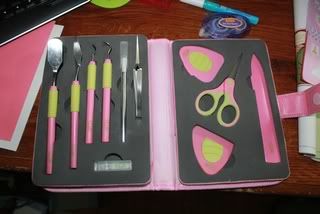
Cricut tool kit (I prefer my Cgul one)
Scor board (I love Martha Stewarts scor board)
Cuttlebug w/swirl embossing folder
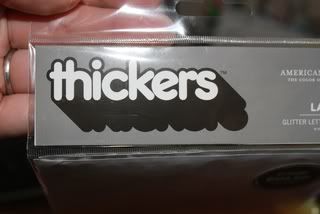
Thickers chipboard glitter letters
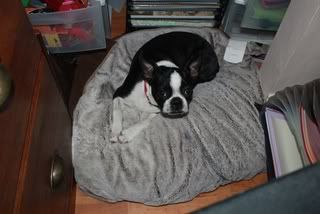
Scrapping puppy (I love my Bostons)

Make sure your scrappin' puppy is in place for lots of love. :)
Photobucket

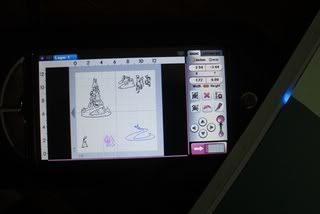
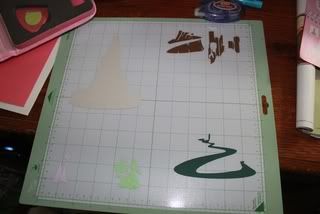
Get all of your layers set up on the Gyspy. I made my base size at 6". Make sure Real Dial Size is not on or everything will not line up.

Photobucket

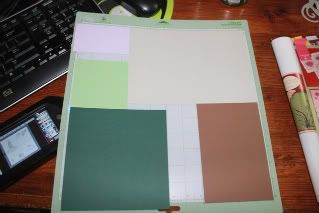
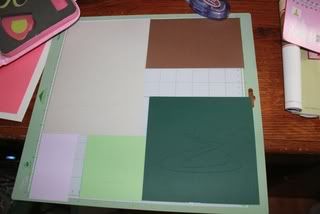
Lay out your card stock in the correct places.

Photobucket

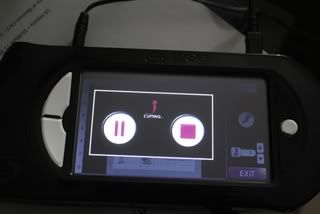
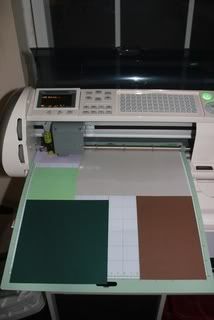
Insert into Cricut (after hooking up your gypsy) and cut.
Photobucket


Photobucket

Once your finished product comes out you will need to weed it.
Photobucket
Photobucket


Photobucket

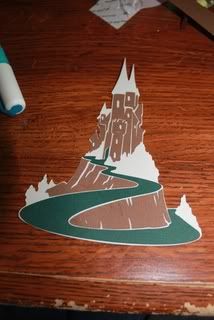
Begin piecing all the little parts & pieces together.
Photobucket


Photobucket

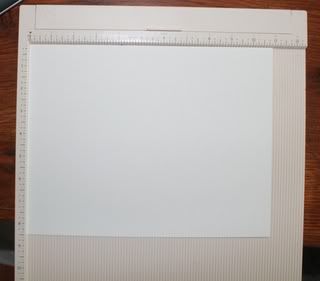
Create your card from the white card stock & score half way. My finished card size was 5"x6.25" so my sheet of paper was 10"x6.25"
Photobucket

Run your 4 3/4"x6 1/4" piece of pink card stock through the cuttlebug.
(I forgot to take a picture of this step)

Decorate the castle.
Photobucket

Adhere to card along with letters saying "believe"
Photobucket

The outside of your card is complete.
Photobucket

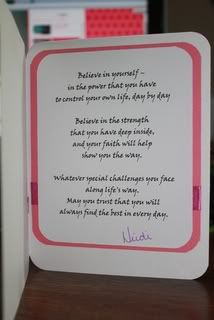
On the inside I put a poem on a photo-mat.
Photobucket

Hope you enjoy. I will try to have more tutorials up more often.